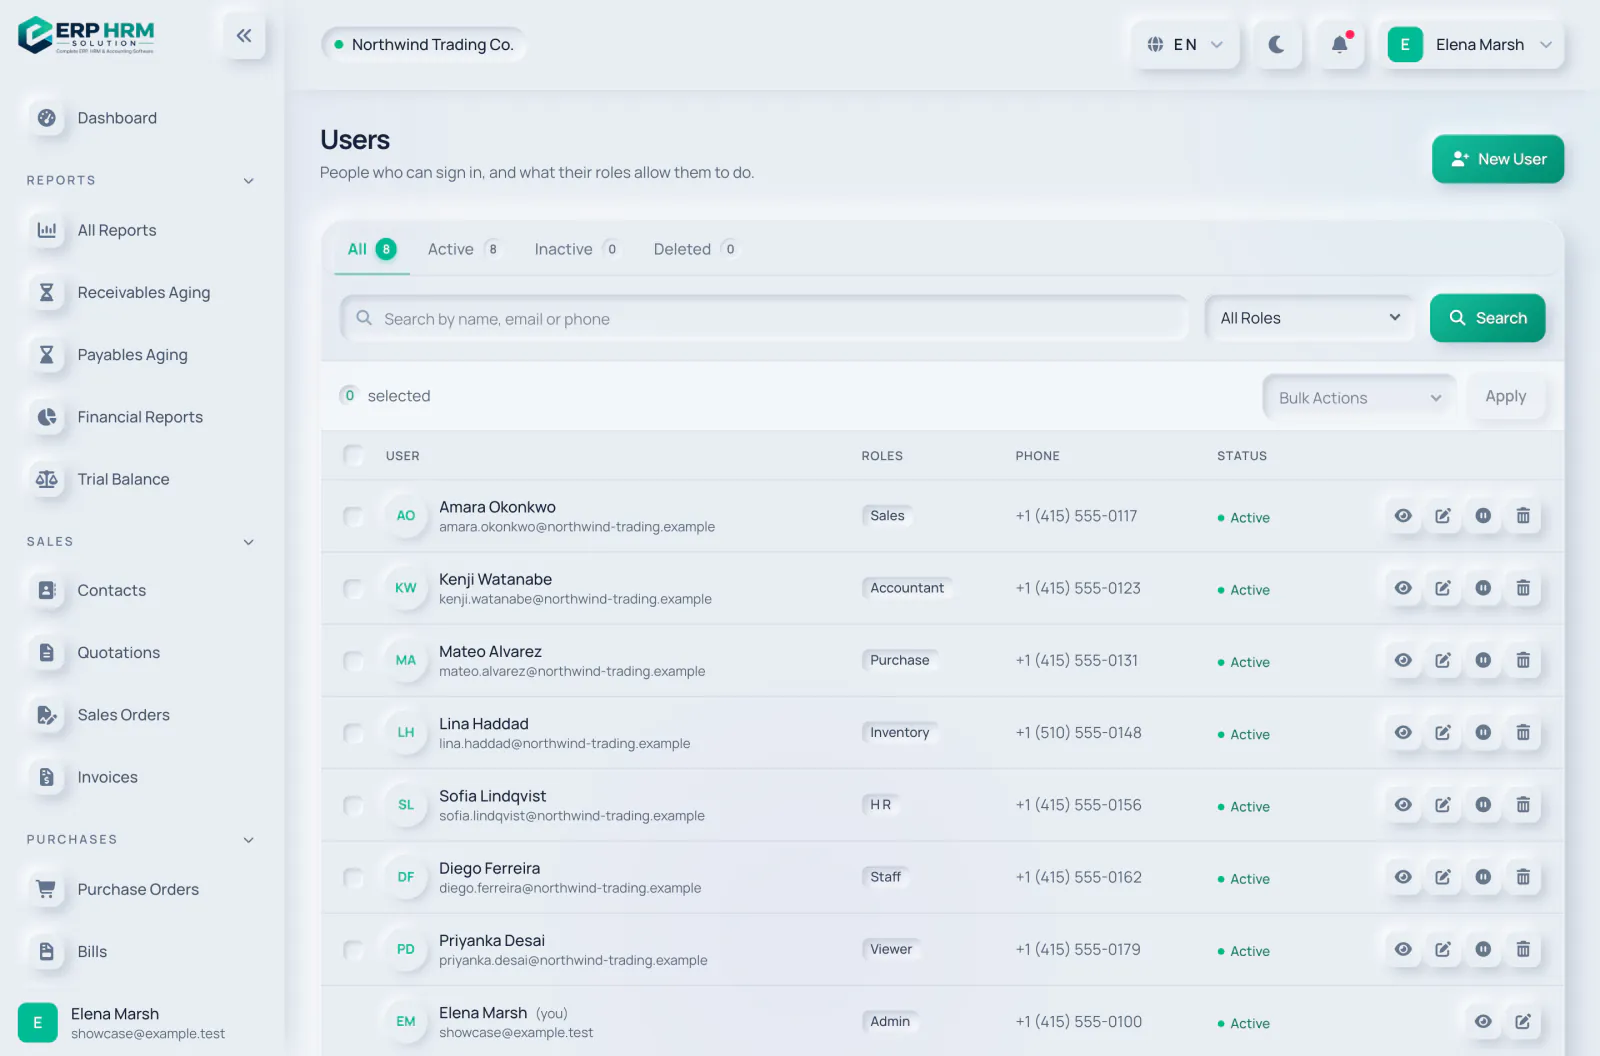
Every person who works in the app needs their own user. Users belong to your company only and can never see another company’s data.
-
Step 1: Open Users
In the sidebar, open People → Users and select New User.
- 1. New User
-
Step 2: Enter the account details
Type the Full Name and Email; the email is the person’s sign-in name. Phone is optional.
- 1. Full Name
- 2. Email used to sign in
-
Step 3: Set a password
Under Sign-in, type a Password and confirm it. It must be at least 8 characters, or longer if your company requires it. Share it with the person securely; they can change it later in My Profile.
- 1. Password
-
Step 4: Choose one or more roles
Tick the roles that match the person’s job, up to five. You can only assign roles within your own permissions.
- 1. Roles
- 2. Status
- 3. Language
-
Step 5: Create the user
Check Status (Active), Language and Timezone, optionally add a profile photo, then select Create User.
- 1. Create User

Related guides
Ask about the product
Ask what the software can do, how a task works, or which countries and languages it supports. Answers come from these guides.
Thinking…
The AI assistant is not available right now. Search the guides or talk to our team. Contact support
AI can make mistakes. Check the linked guides.
Still need help?
Our support team reads every message and answers in plain language.
Contact support