The Organization tab in HR holds the lists used across the module. Each list has its own permission, so you only see the tabs your role allows.
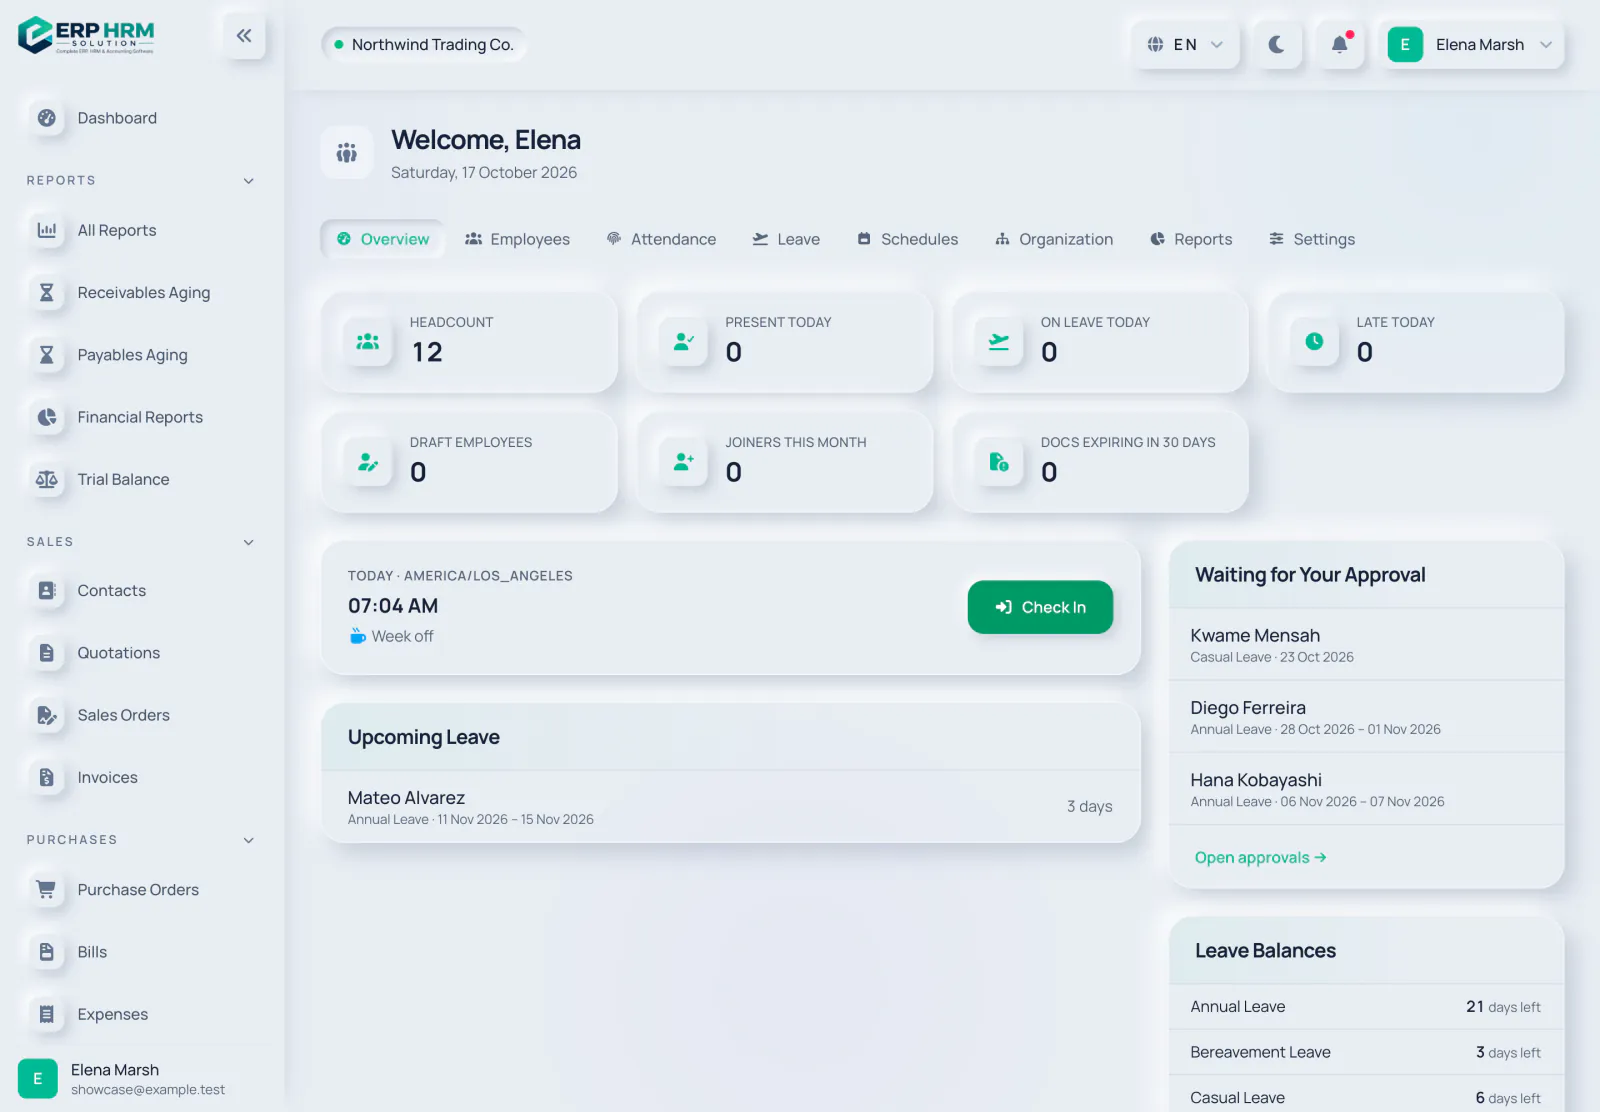
- 1. Organization
- 2. Schedules
- 3. Settings
- Departments — code, name, parent department and department manager, for a company-wide hierarchy.
- Designations — job titles with a level.
- Employment Types — full-time, part-time, contract and so on, with Full Time and Paid flags.
- Work Locations — offices, sites and remote locations, each with its own timezone.
- Shifts — start and end time, break, timezone and grace periods. Shifts that end after midnight are shown as Overnight.
- Holidays — company-wide or for one work location, optionally marked as an Optional Holiday.
- Leave Types — entitlement, accrual and approval rules.
-
Step 1: Open a list
Click Organization, then the tab you need, for example Departments.
-
Step 2: Add a record
Click the New button (for example New Department), fill in the form and click Create.
-
Step 3: Maintain it
Use Edit to change a record and switch off Active to stop offering it. Delete removes it from the list; choose Include Deleted or Deleted Only in the filter to find it again and Restore it.
Work schedules
A schedule says which days are working days and which hours apply. Without a schedule, Monday to Friday are working days with flexible hours. Employee schedules override department schedules, which override the company default.
-
Step 1: Create a schedule
Click Schedules, then New Schedule. Enter a Name and choose the Scope: Company Default, Department or Employee (then pick which one).
-
Step 2: Set the hours
Choose a Default Shift, or "None (flexible hours)". Set Effective From and optionally Effective To.
-
Step 3: Weekly Pattern
For each day, tick Working day and, if that day differs, pick another Shift or enter custom Start Time, End Time and Break. Click Save Schedule.
Related guides
Ask about the product
Ask what the software can do, how a task works, or which countries and languages it supports. Answers come from these guides.
Thinking…
The AI assistant is not available right now. Search the guides or talk to our team. Contact support
AI can make mistakes. Check the linked guides.
Still need help?
Our support team reads every message and answers in plain language.
Contact support